Install regigate on MS Azure
Project description and used environment
This document is describing the procedure to prepare and install a regigate software appliance on MS Azure. We documented all needed steps in text and screen-shots. In case you plan to follow, please don’t forget to read the text and pay some special attention to the notes and marked fields in the screen-shots.
| The availability of this document does not imply that regify offers official support for operation under MS Azure. |
For our setup, we used the following environment and tools:
-
Windows 10 (1803)
-
Hyper-V-Manager 10.0.17134.1
-
MS Azure Storage Explorer 1.7.0 (details and source in-line later)
Installed regigate version:
-
regify-regigate-5.0.6-0325-1226-x86_64 appliance (will work with any previous version 5.x, too).
Creation of the regigate VM for MS Azure
The used Windows was a German system, so screenshots appear in German.
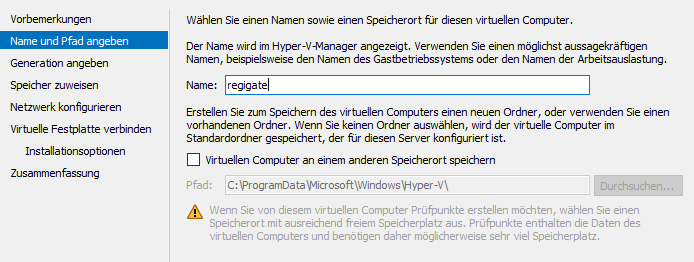
For creation of the regigate template machine, we used Hyper-V. Create a completely new virtual machine using the below configuration.
We did a Gen1 machine to ensure compatibility (Source: https://docs.microsoft.com/en-us/windows-server/virtualization/hyper-v/plan/should-i-create-a-generation-1-or-2-virtual-machine-in-hyper-v)

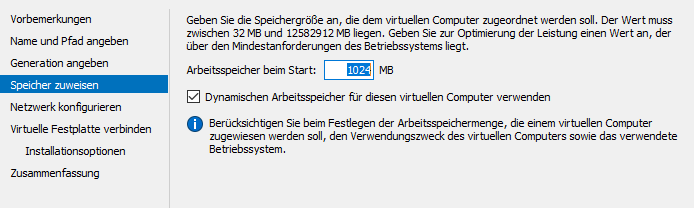
We decided for 1GB of Memory, which is absolutely sufficient for regigate:
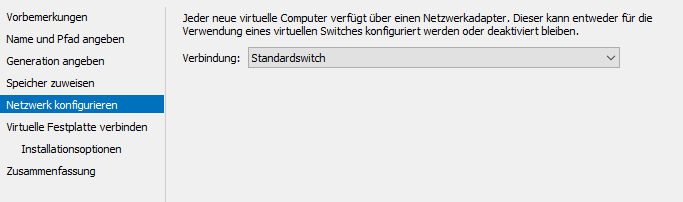
Now, for networking, we connected to the Standard Switch:
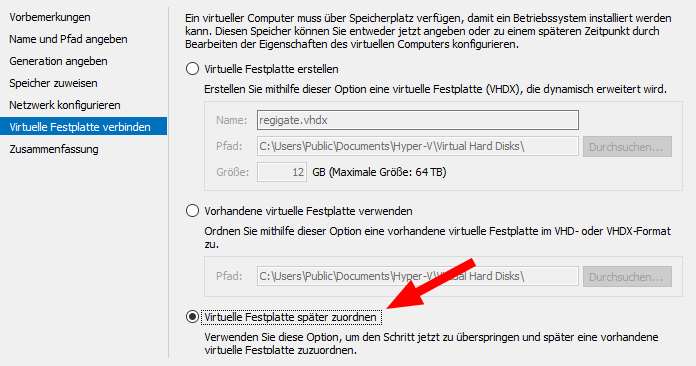
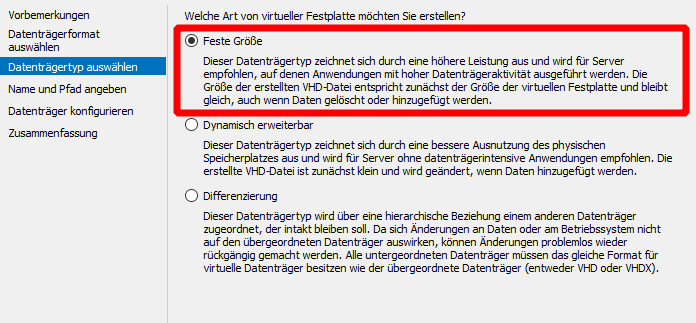
We now created the virtual drive. Due to Microsoft, we should not use the new VHDX format, but Hyper-V does not offer anything else. So we decided to create the drive later:
After the machine was created, we started editing some settings. This is what we’ve changed:
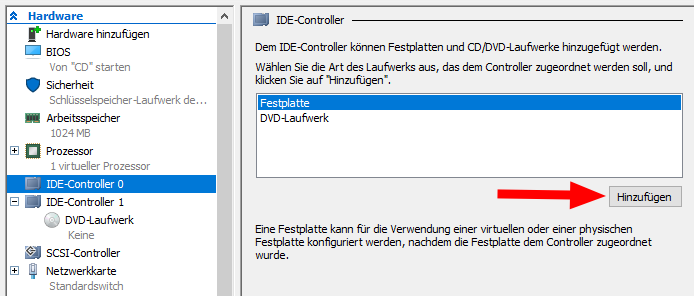
We added an IDE drive to IDE-Controller 0 as main drive for this VM.
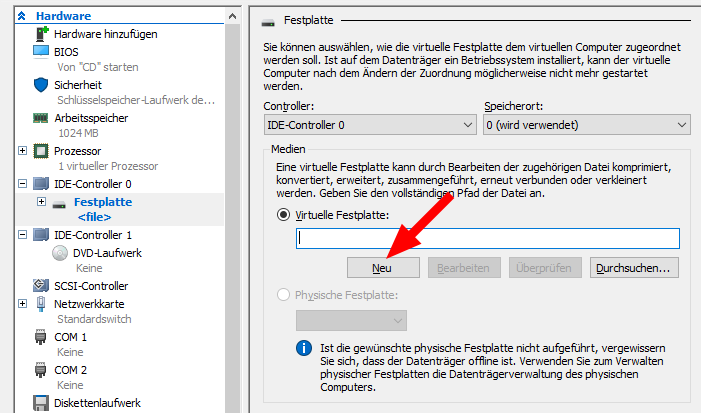
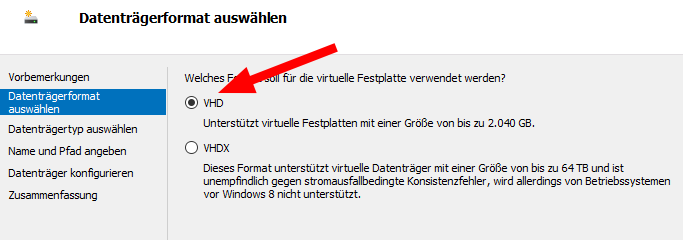
By this, we can do a VHD:
| Please make sure to create a VHD drive, because MS Azure does not support VHDX drives! |
We also have chosen a fixed size because Azure does not support dynamic drives!
We named the drive with a good to find name:

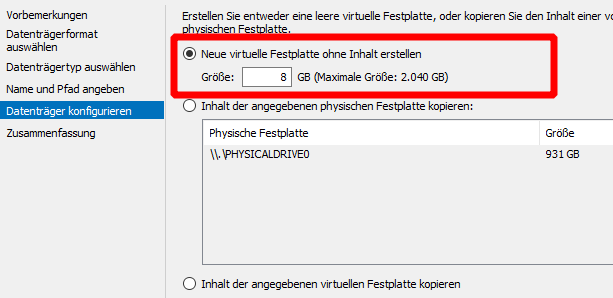
We sized the drive with 8GB. This is the minimum for a regigate installation and enough for generic regigate operation.
| We have to upload this later, so please do not use much more space! |
Finally, the drive becomes created and was automatically assigned to the previous selected controller:

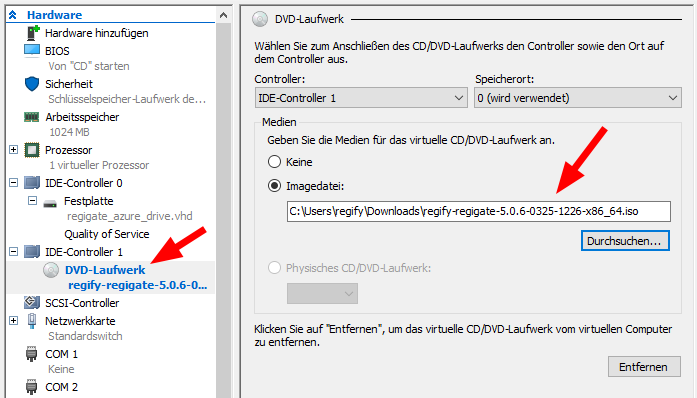
In order to install the regigate appliance, we also assigned the ISO image for booting:
Save all settings Apply.
Now we went to Checkpoints (German Prüfpunkte) and disabled this feature for the machine (otherwise we will not get one single VHD file):
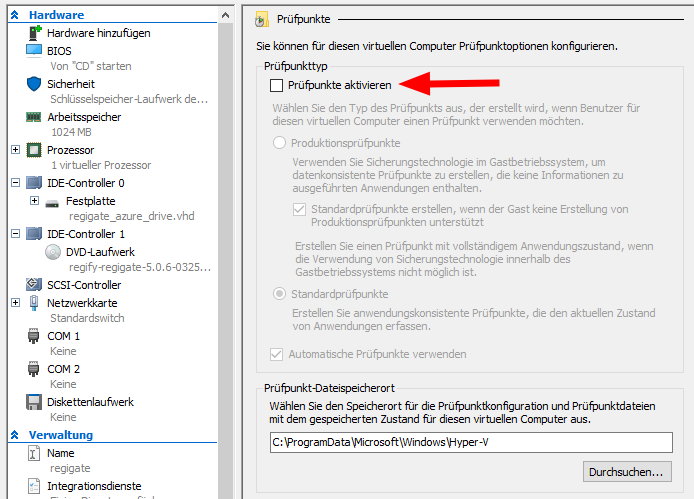
Now click Apply and then click OKto close settings.
regigate Installation on the new VM
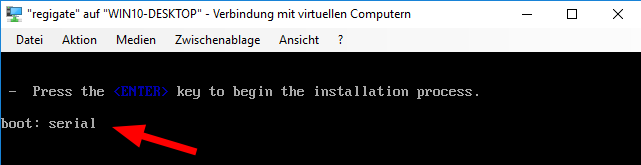
We connected to the new VM and started. The VM allows to boot from the virtual ISO image. Please do not only hit Enter.
Please type: serial and then confirm with Enter key.
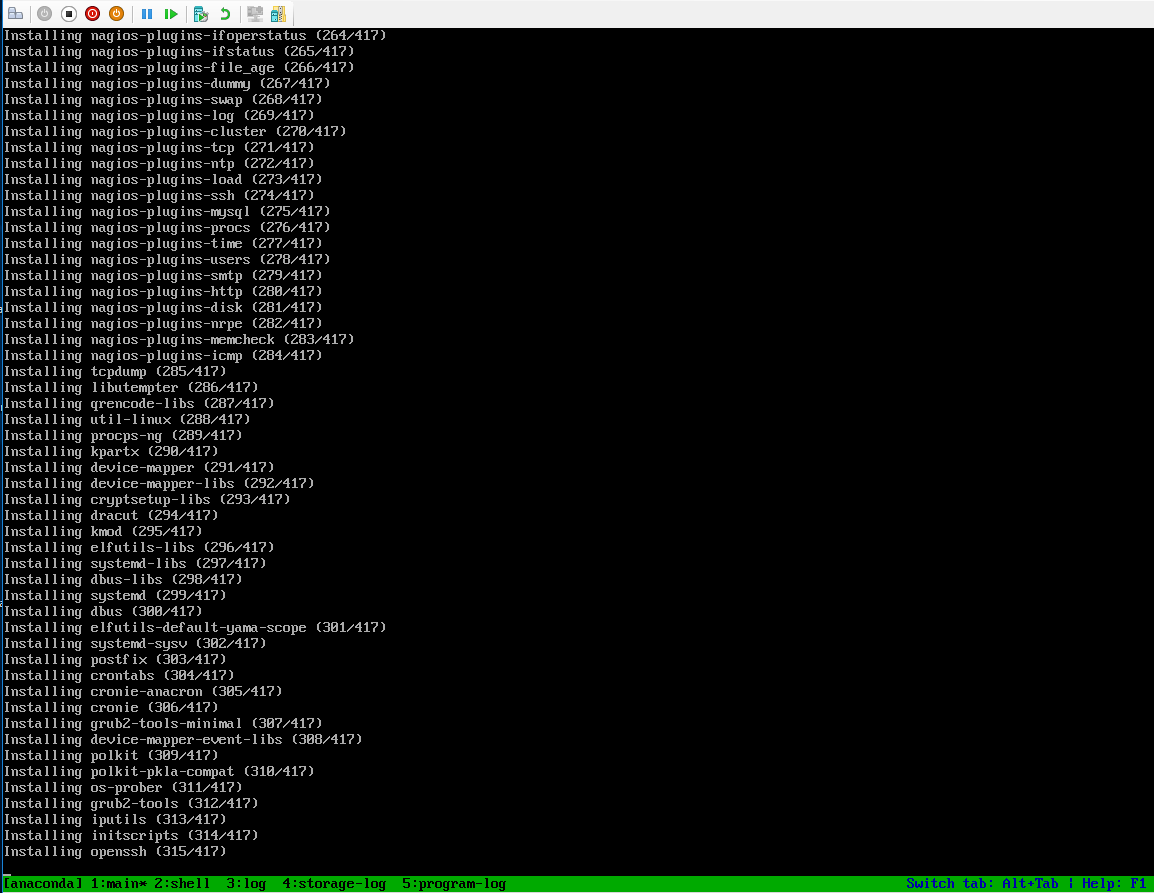
Now, the setup of regigate starts and the system gets prepared for serial console usage. We wait until regigate setup screen appears.
| This may take up to 40 minutes or even more! Stay tuned… |
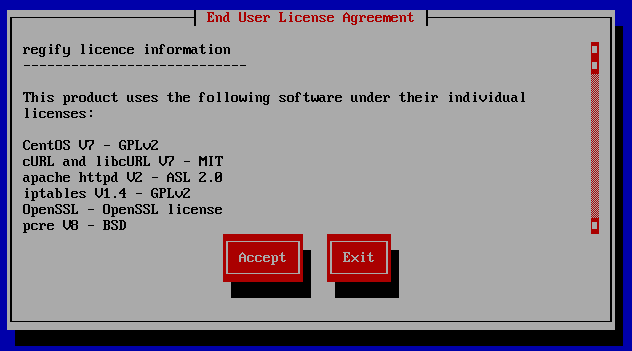
Now we follow the regigate installation by mostly using the defaults:
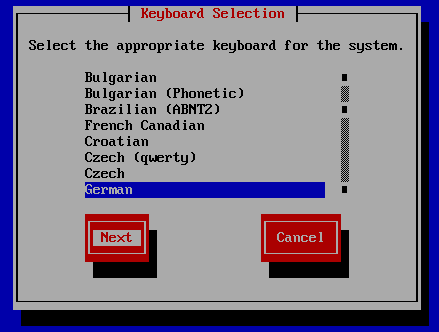
We choose German Keyboard (because we are on a German system).
Use English in case of doubt. Can be changed later.
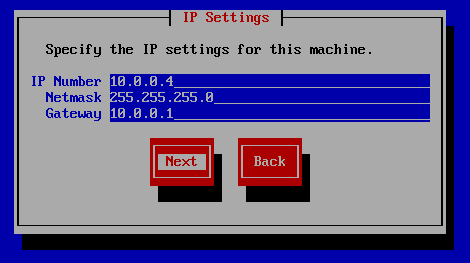
By default, every MS Azure instance is assigning a private network 10.0.0.0/24. We found Azure DHCP assigning 10.0.0.4 for the first machine by default, so we entered 10.0.0.4 as IP Number using 255.255.255.0 as Netmask and 10.0.0.1 as Gateway. We found some information in the web for the first IP in a subnet to always be the gateway.
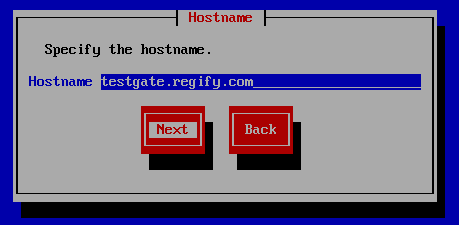
We entered testgate.regify.com as Hostname. We will use this later for DNS on the public IP of the VM for testing. You may have to enter your own preferred hostname.
| This is used for regigate SMTP communication and may affect SPAM filters and functionality. You can change this later in the appliance menu, too. |
Enter appropriate passwords for user regify and user root (no screen-shots here).
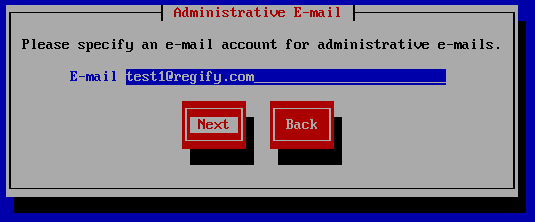
Enter an email address for reports. Make sure this email address exists:
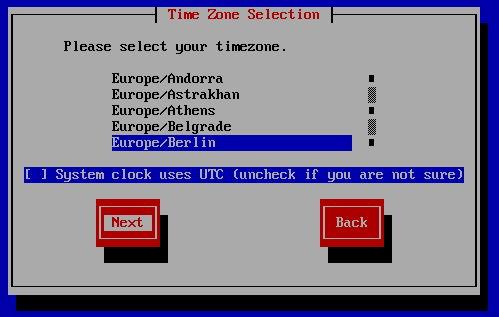
Set Time Zone. We do not know how MS Azure machines are working, so we do not assume them to have UTC 0 clock:
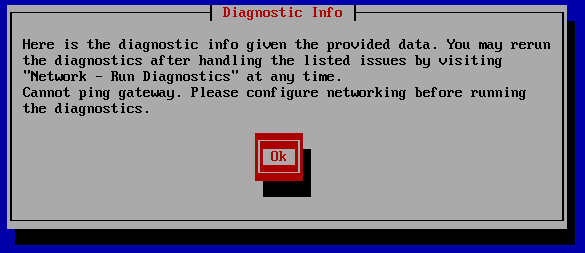
Finally, the diagnostic will complain, the connectivity is not given with the credentials. The gateway is not pingable. This is planned, because we are not yet in MS Azure. The local host does not support 10.0.0.1 as gateway:
Now the appliance tells us to log in using SSH and finish configuration there:
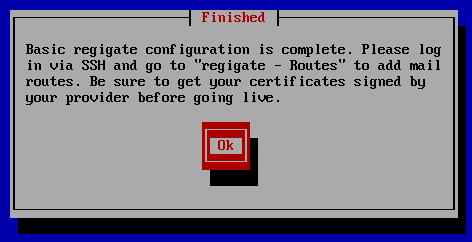
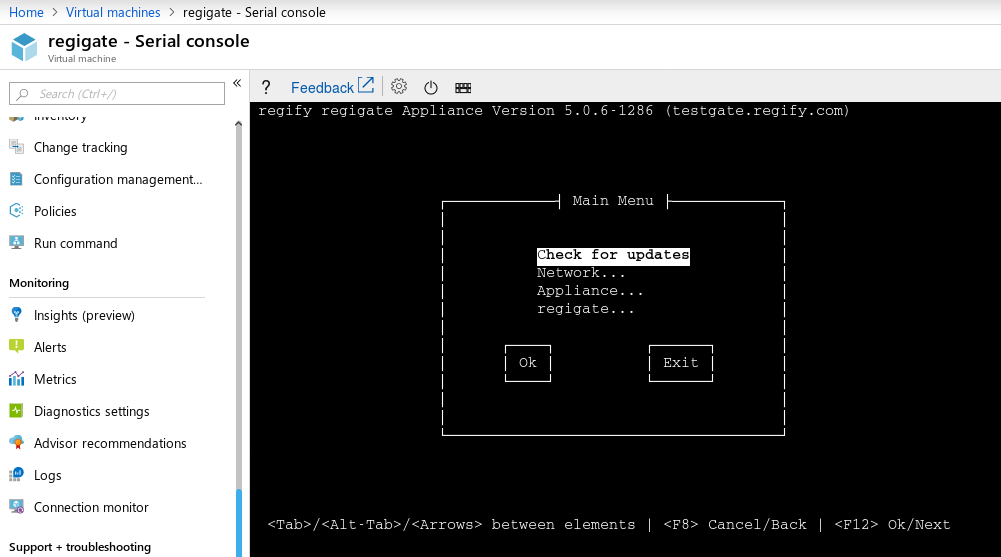
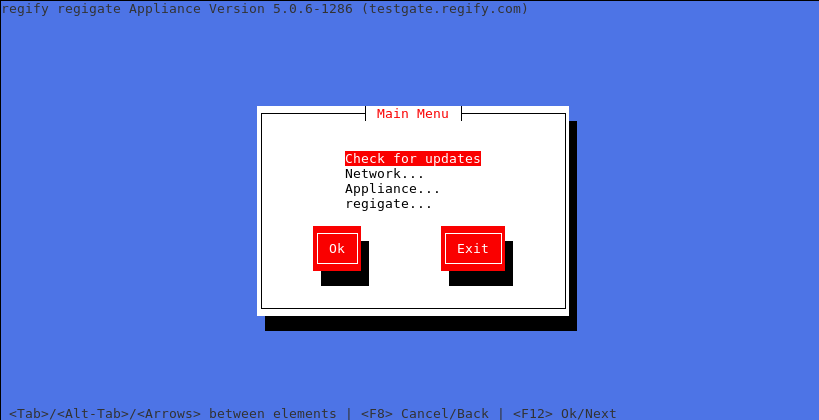
Upon this, the appliance menu appears.
We now Enable SSH Access in order to manage the appliance later in MS Azure. We enter .
Here you can restrict SSH access to specified source IP addresses.
| We strongly recommend not to allow root access and also fill in the IP address you plan to use for configuration. |
If you do not know the IP, or you will come from non fixed IP addresses, you can leave the field empty. The password is the only security then.
For our tests, we enable access from our office in Germany and we do not allow root login:
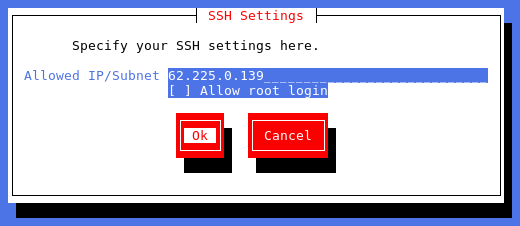
| Alternatively, you can keep the IP Subnet empty to not restrict SSH access. In this case, you must configure access restrictions in your MS Azure Ingoing rules (Firewall). |
Now we leave the appliance menu using Back and Exit and will find us on the machine console:
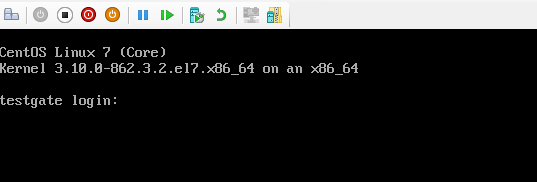
We now login using root and the password we’ve set during setup. In there, we shutdown the regigate using:
shutdown -h now
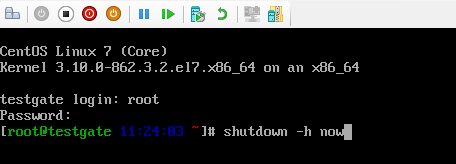
The VM now shuts down and halts. We close the console connection.
Copy regigate VM to MS Azure
Prepare MS Azure Storage Explorer
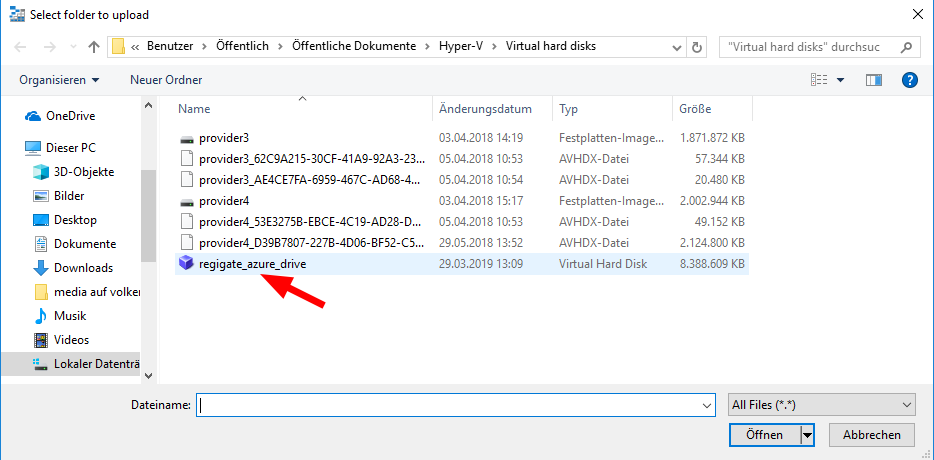
First we locate the regigate VHD disk file on our Windows machine. On our system it was located at
C:\Users\Public\Documents\Hyper-V\Virtual hard disks.
We then installed MS Storage Explorer. From the web it sounds like a good tool for uploading the new VHD of regigate.
We found and downloaded the Windows Version from here:
https://azure.microsoft.com/en-us/features/storage-explorer/
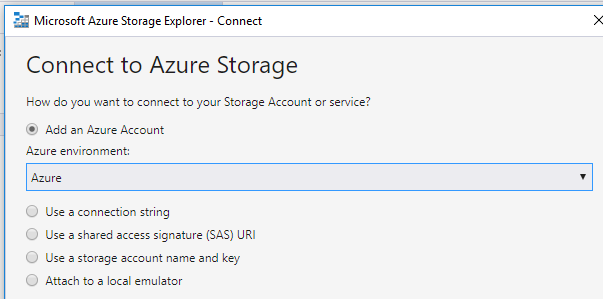
After it was launched, we first added our Microsoft account:

We clicked on Add an account… and finally were not sure where our account is located. We have chosen the default:
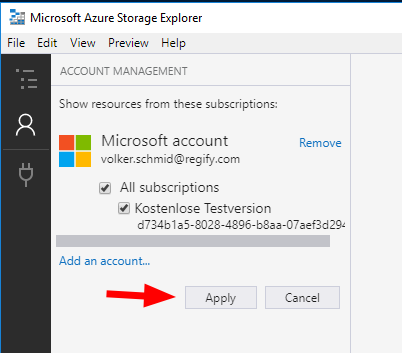
Now we clicked on Log in… on the bottom. We then signed in using our Windows Azure account credentials. Upon this, we were signed in and clicked on Apply.
Prepare MS Azure Storage Resource
Our MS Azure Account does not yet have some Storage account. So we went to Azure web portal and entered . In there, we clicked the + Add button. We then have chosen .
| Make sure to always use the same "Resource Group" in all Azure portal dialogs. Otherwise, if new Resource Groups are created, you may not be able to access the resources assigned there. |
We set up the storage account like this:
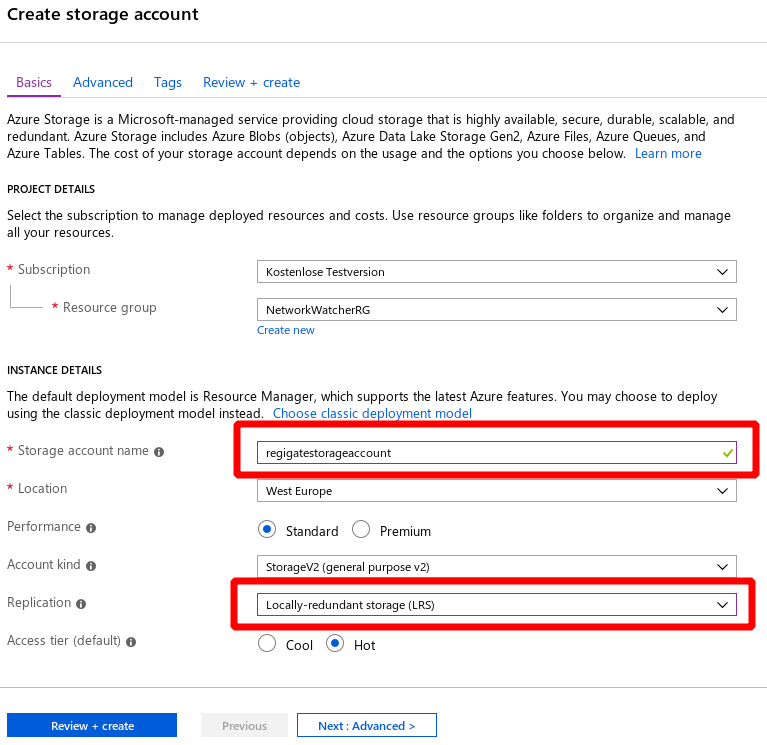
The validation of the storage took a few seconds and then we are able to confirm:
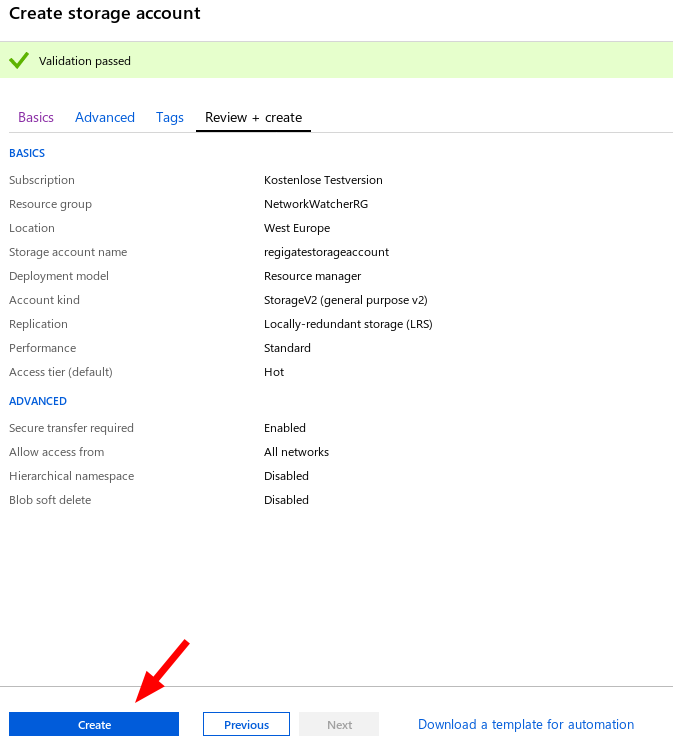
The provisioning took a few seconds only:

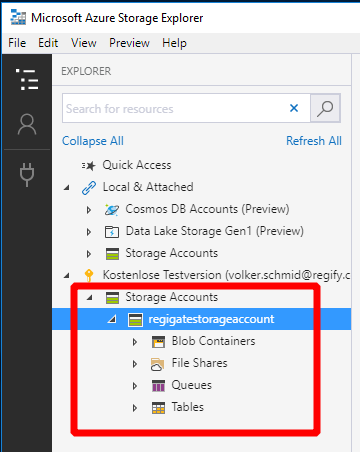
We went back to Windows to our local Azure Storage Explorer and hit Refresh All. We then found our new storage listed behind Storage Accounts:
We then right clicked and selected Create Blob Container.
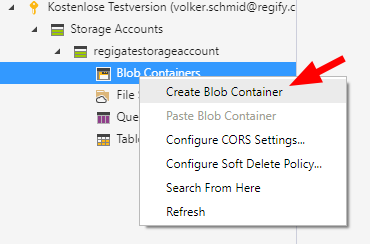
We created some regigate-container like this:
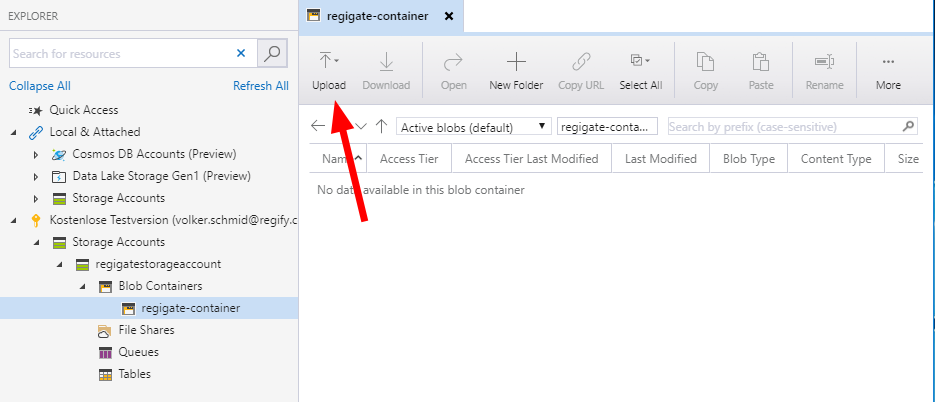
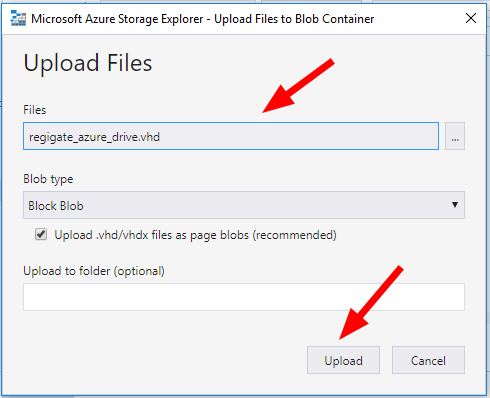
We then clicked on Upload in order to upload our VM files. For this, we have chosen to upload files (not folders) and selected the VHD file identified before.
Ours is about 8.4 GB in size:
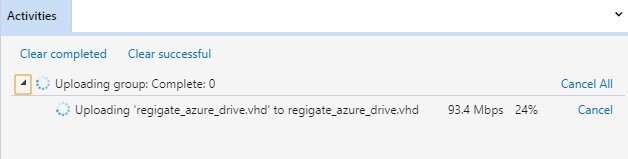
We started upload then. The upload took a while:
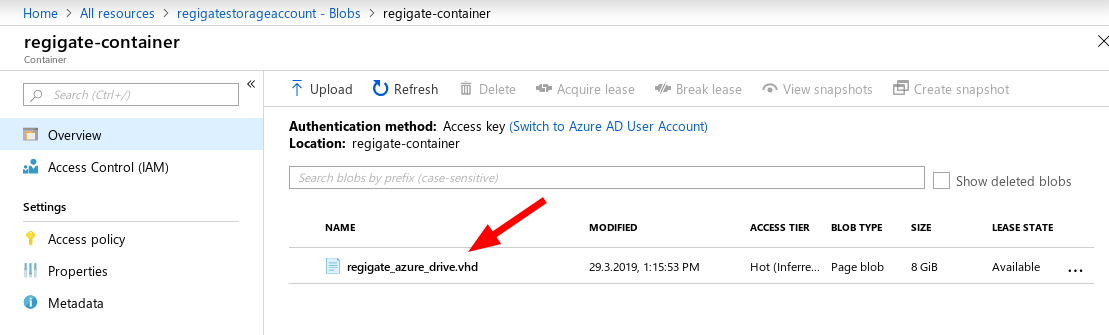
After the upload was finished, we went back to the web Azure Portal. There we found the files in :
Create a VM from the uploaded machine
Upon the VHD file is uploaded, we can create a new virtual machine based on this file. The following steps will guide you through this.
Create disk from uploaded image
We entered and decided to + Add and searched for . We found that entry and clicked on Create button.
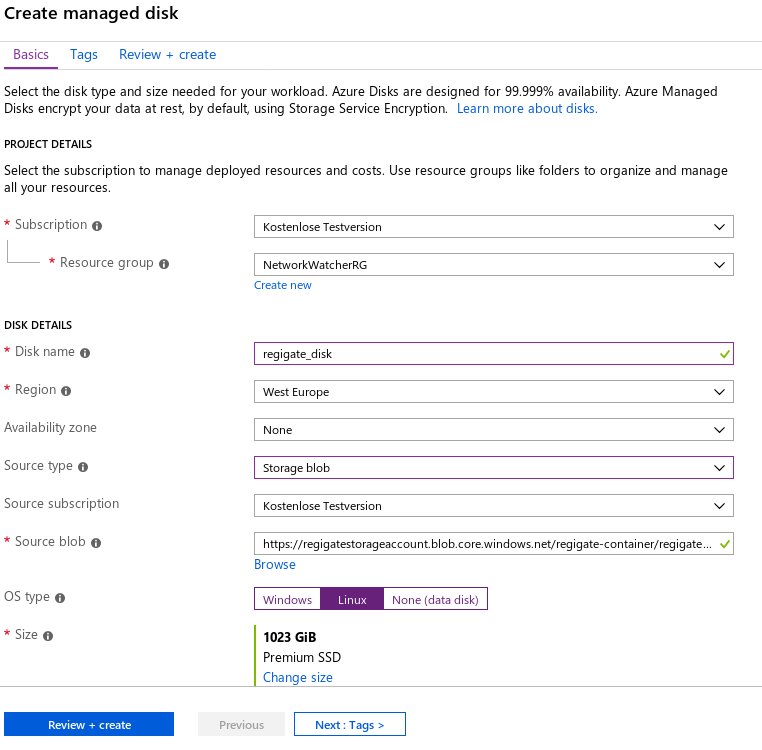
We now had to provide information for the new disk. We named it and selected the following settings:
-
Disk name: regigate_disk
-
Source type: Storage blob
-
Source blob: The chosen one after selection (see below)
-
OS type: Linux
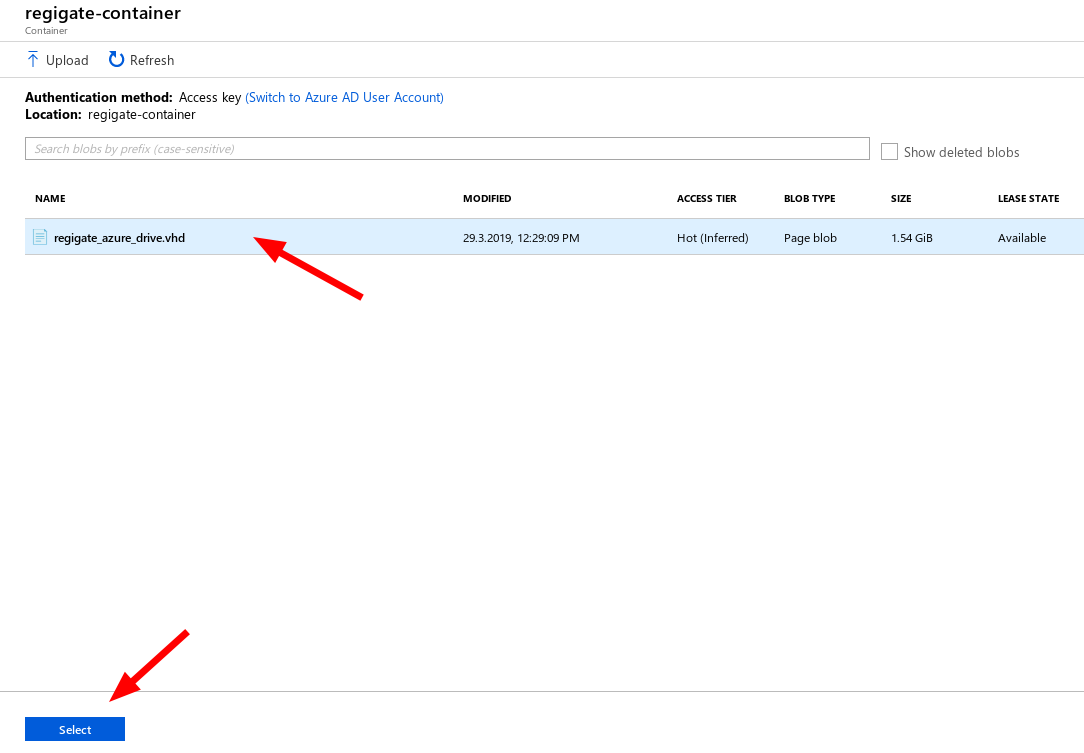
During storage selection, we went down the structure until the files appeared. There, we selected the uploaded VHD file:
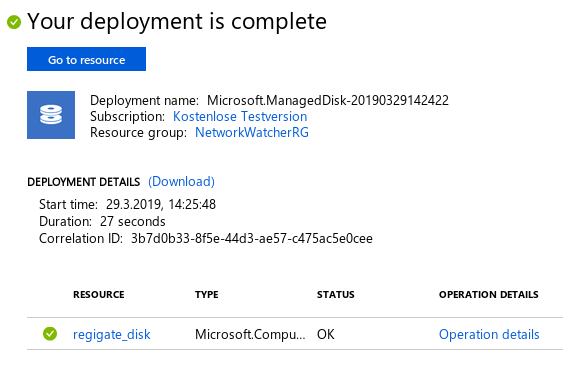
After successful validation under Review + create, we clicked Create on bottom and the drive was created.
Create machine with this disk
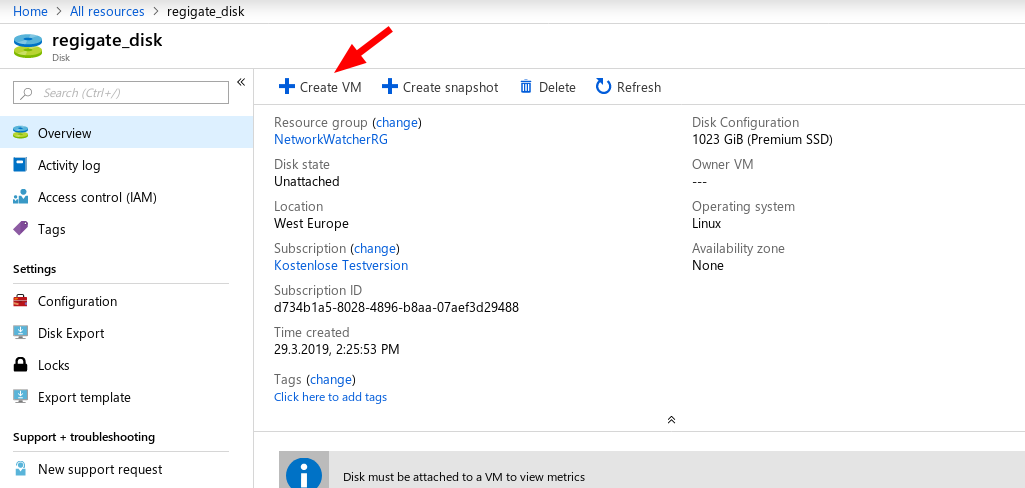
We use the Azure portal to go to . There, we click on our new regigate_disk.
In the dialog, we can click on + Create VM:
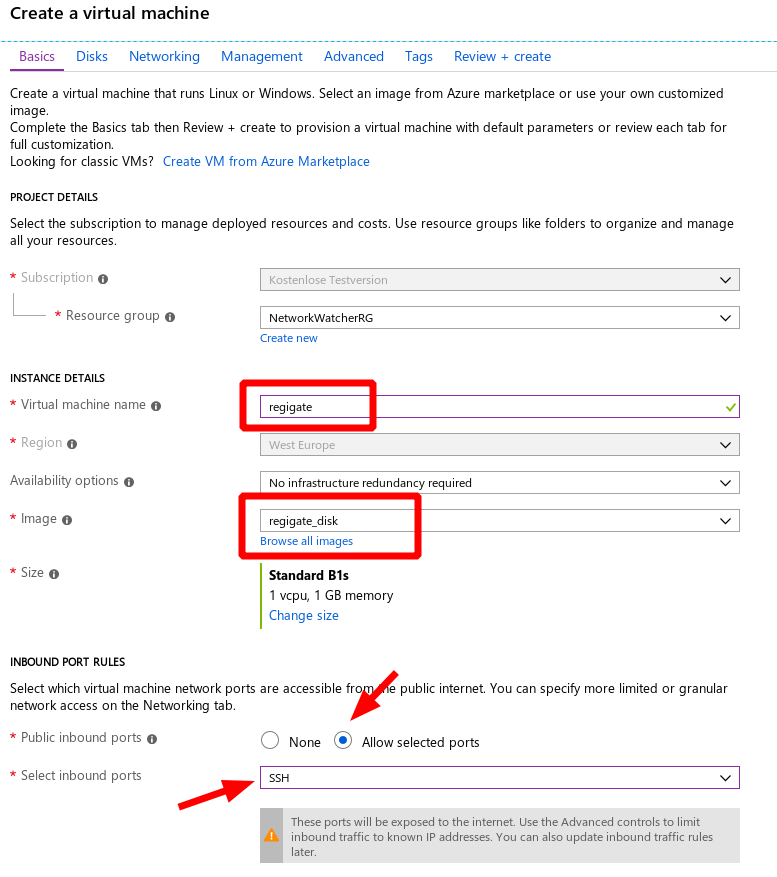
We then simply enter the name of the machine (regigate) and may have to select the Resource group. We also have to select a Size. For our needs, we selected Standard B1s plan.
You also should allow SSH ports for ingoing connections:
We do not have to edit something for Disks. The next option is Networking. There we assign our public IP address:
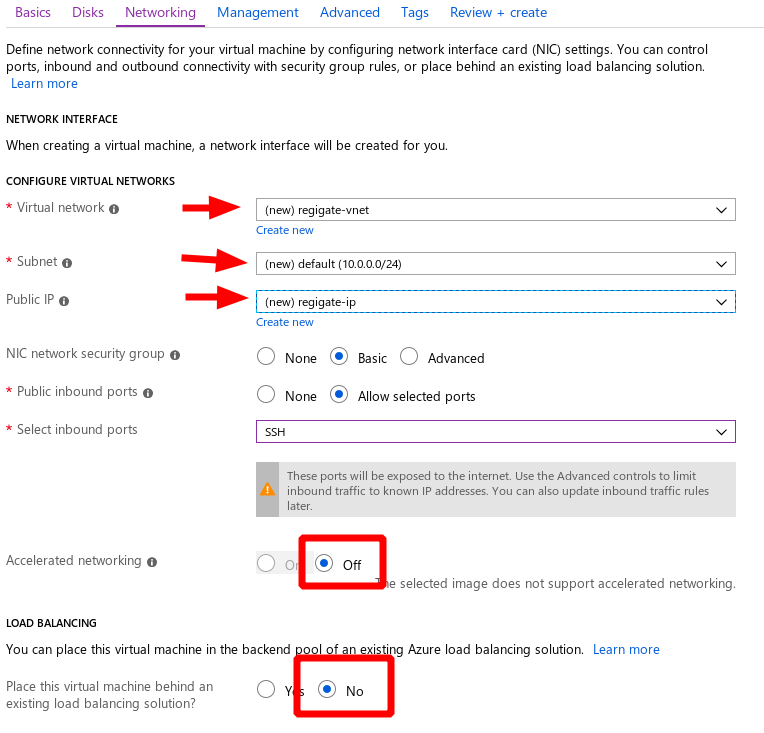
Please ensure that all settings are exactly like in the example.
For and Tags we have kept the defaults.
After clicking Review and create we were able to create the VM with those settings:
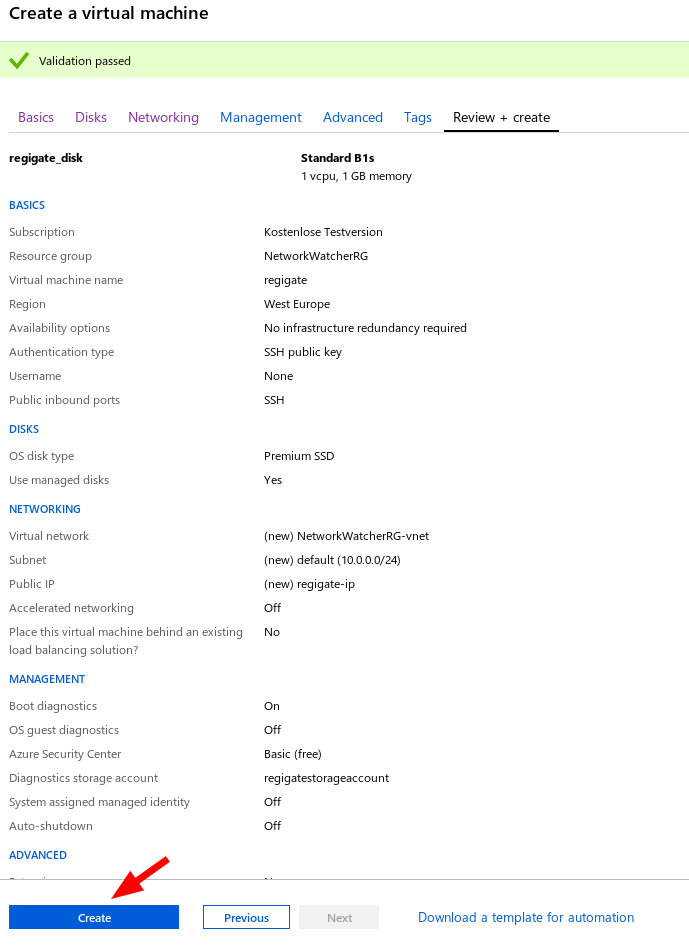
Clicking Create will start provisioning of the new VM with our uploaded image. It took a few minutes to complete:
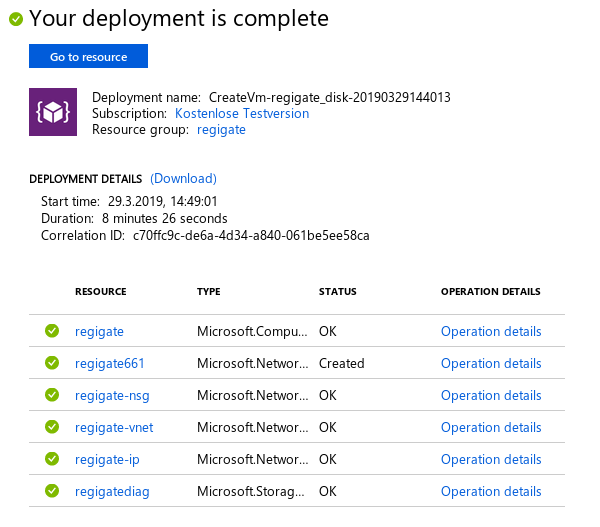
Now we can find our new machine in the dialog on our Azure Portal:

This is the list of our resources now:
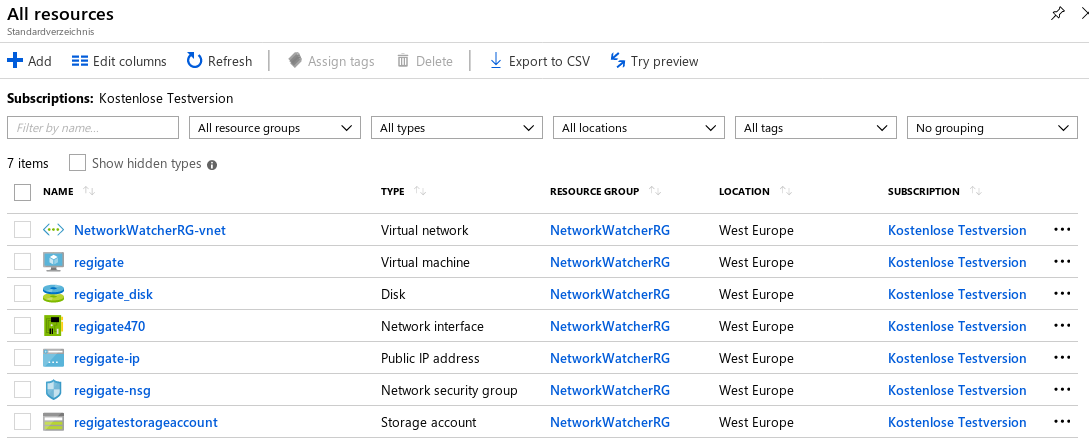
At least if you do not have other resources, the list should look very similar to this (numbers may change).
Setup IP interfaces
We clicked . There we made the IP Static:
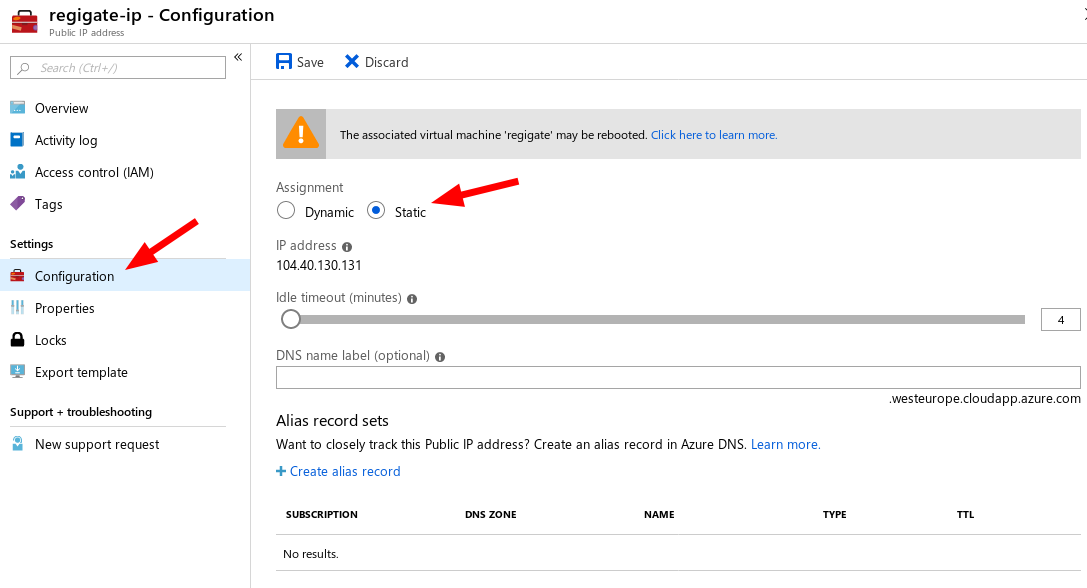
Click Save to save the settings.
In in our case) then IP configurations and select the one from the list.
Now, make sure that Private IP address is set to Static and points to 10.0.0.4:
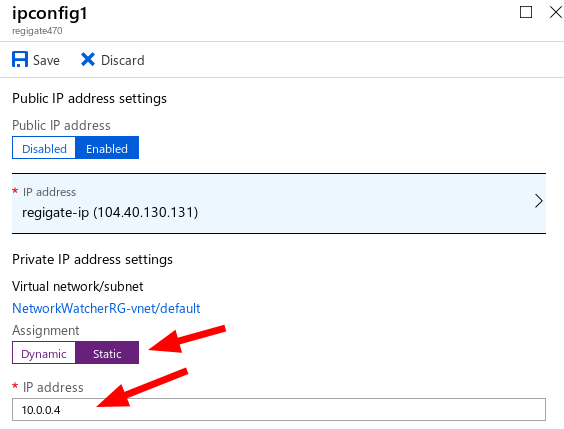
If it is not 10.0.0.4, you have to adapt it here to exactly match 10.0.0.4, because this is the IP we configured for the virtual machine before.
| You may want to copy or note your public IP address here for later use. |
Save with the Save function.
Connect to the new regigate machine
Upon the above configuration was successful, you should be able to connect to your machine using SSH (or PuTTY if you are on Windows):

Upon login with user regify, the regigate menu starts immediately.
| Please remember that we disallowed root login during appliance configuration. |
Now you can configure regigate and MS Azure to your needs.
The following settings should get your attention:
-
regigate
-
Limit SSH access to your network only ().
-
Create your Routes
-
| If you enter the wrong address, you can no longer log in! Maybe first try to get your current incoming IP by running echo $SSH_CLIENT in the shell on regigate. If this is a fixed one, you can use this for limiting access. |
-
MS Azure
-
Set up your networking settings for the VM to allow ingoing and outgoing traffic for your routes (eg SMTP). We suggest to not limit any outgoing access at all.
-
Enable backup for your regigate appliance (we suggest to do daily backups and keep them for at least 3 days).
-
Try using the serial console (). It may take a few seconds (15 or more) or some retry, but in our environment we were able to log in. It is important that serial console is working. Otherwise you have no way to restore settings or fix issues with root user or if source IP has changed etc.
-